Introduction
The CTI-L4T Board Support Package adds support for Connect Tech NVIDIA® Jetson™ systems and carrier boards to Jetson Linux. It includes any extra files required to use all the features of the products.
These instructions are valid for JetPack 4.4 and onwards. Prior versions can be viewed here.
The latest versions of CTI-L4T can be downloaded from here.
This Support page does not include instruction for installing SDK components; however, it is a prerequisite to installing it. Our CTI BSP needs to be installed alongside the Jetson OS first. For instructions on installing SDK components, please refer to kdb374 after following the instructions on this page.
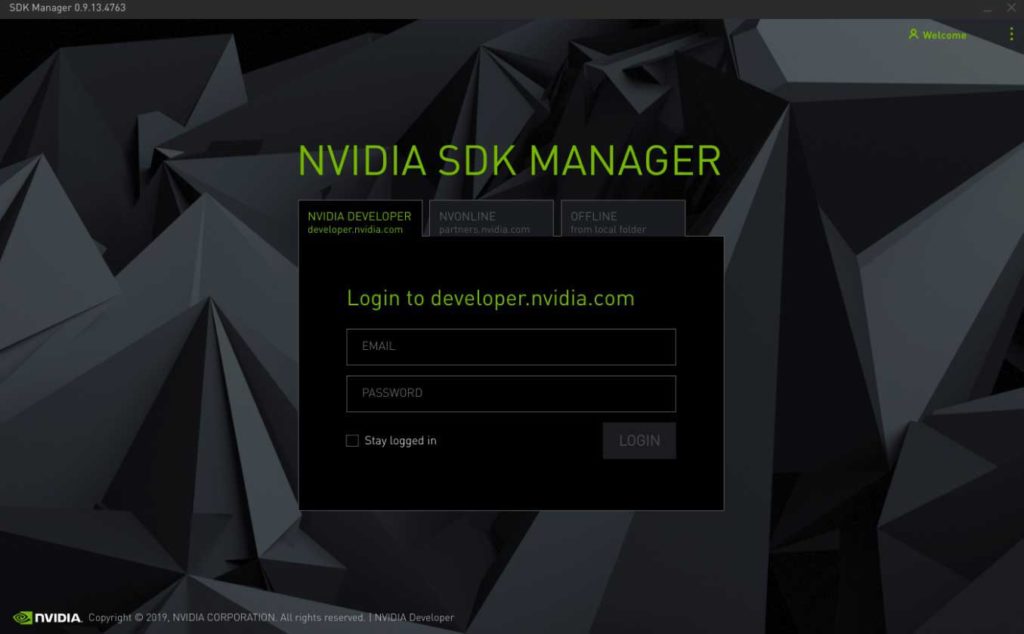
1. Open NVIDIA SDK Manager. For first time use, you must log in to your NVIDIA Developer account.
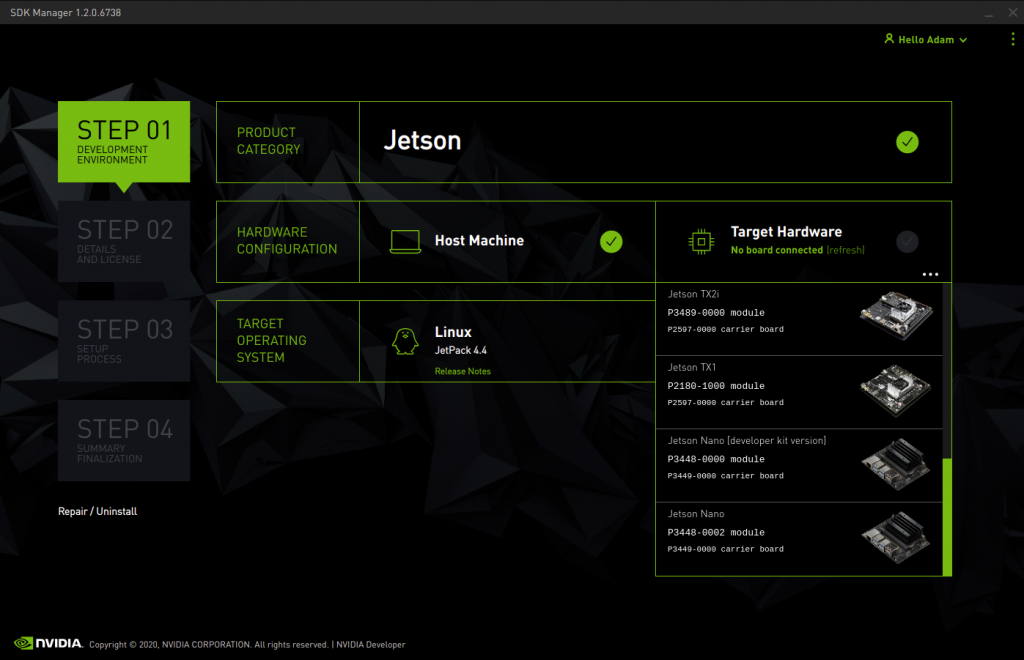
2. Choose your target hardware from the Target Hardware drop-down.
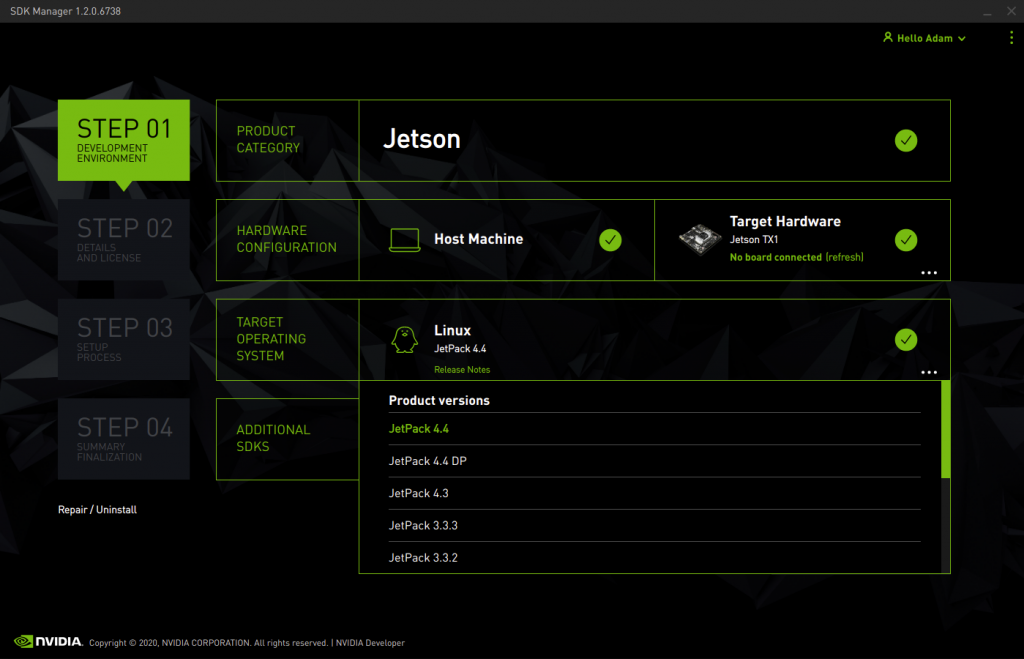
3. Choose your JetPack Version from the Target Operating System Drop-down.
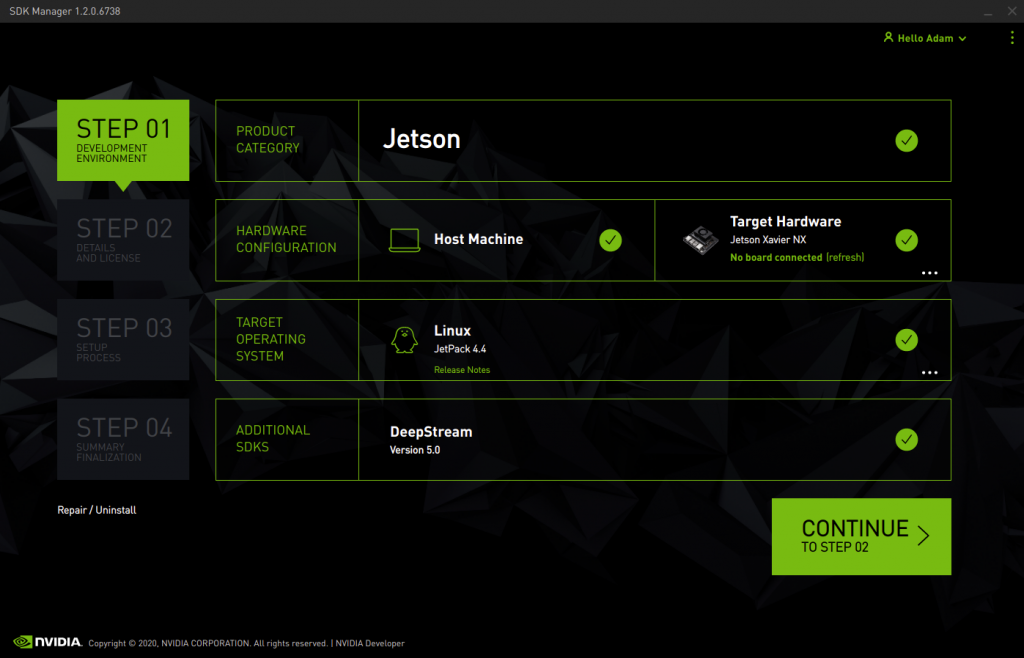
4. Once you have Selected your target Hardware and Target operating system, please hit continue to proceed.
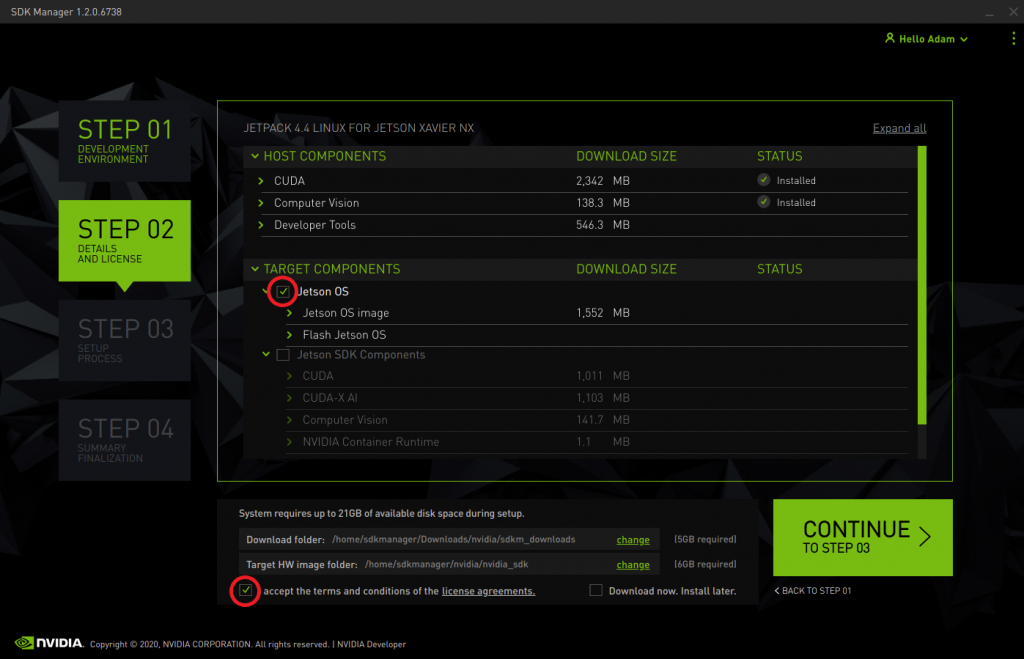
5. Please only check the checkboxes circled in red. Please uncheck “Jetson SDK Components”, and leave “Download now. Install later” also unchecked. Then proceed to the next step.
*Please note that you may change your Download folder or Target HW image folder. The default location for the Target HW image folder is ~/nvidia/nvidia_sdk.
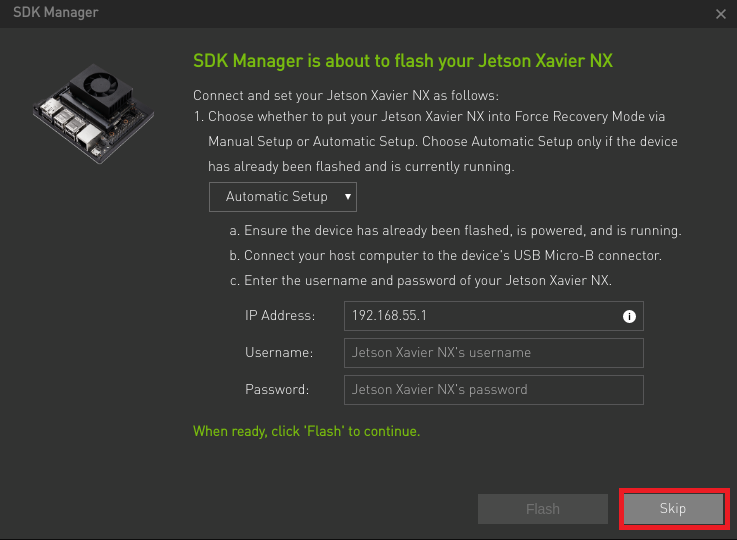
6. After proceeding your download will begin. After downloading, it will prompt you to flash your unit. On this prompt, please press skip.
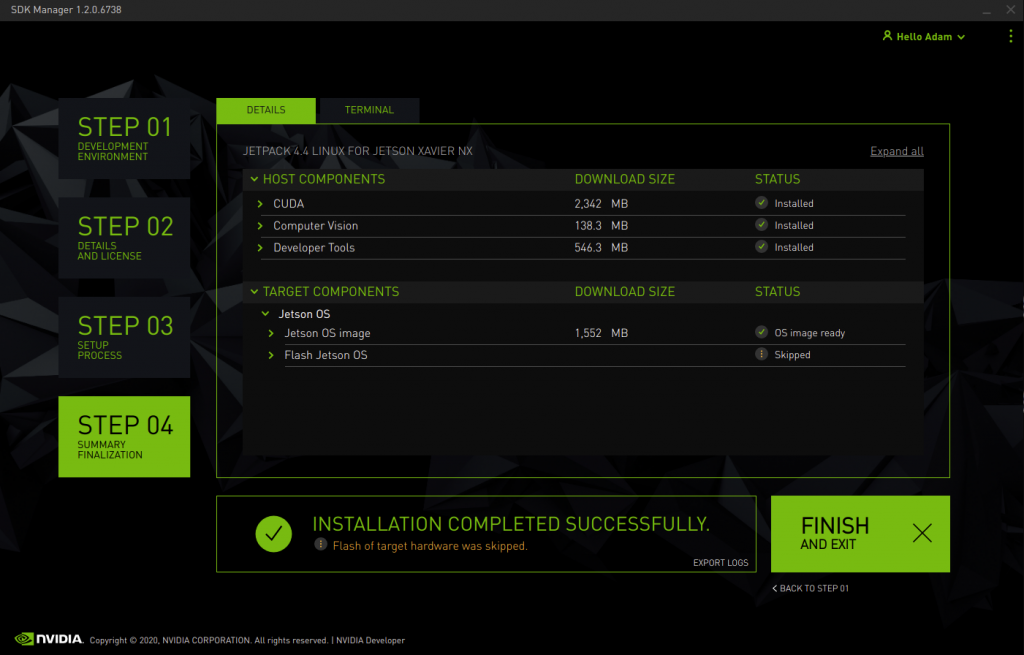
7. After skipping, this step will complete and you can close sdkmanager.
8. Go to your Target HW image folder that was designated in step 5 of these instructions and find the Linux_For_Tegra folder.
cd ~/nvidia/nvidia_sdk/<Jetpack_Version_and_Module>/Linux_For_Tegra
9. Go to our Board Support Package page to find our BSP for your specific JetPack Version. To easily download it you may use the wget command as follows:
wget <url link to CTI BSP>
For example:
wget https://connecttech.com/ftp/Drivers/CTI-L4T-XAVIER-NX-32.4.3-V003.tgz
10. Install our BSP with the following commands
tar -zxf <CTI BSP>.tgz to return to the Linux_for_Tegra directory
cd CTI-L4T
sudo ./install.sh
cd .. #
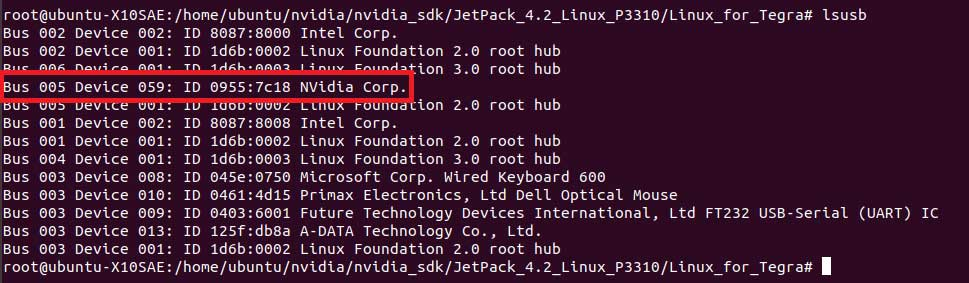
11. Put your device in forced recovery mode.
Trigger the forced recovery button or jumper on the NVIDIA Development kit or CTI carrier, then press the power or reset button. Connect the relevant USB cable to the USB OTG port from the NVIDIA Development kit or CTI carrier to the host computer. Type ‘lsusb’ to confirm the device is in recovery. For CTI carriers, more information on the forced recovery and USB ports can be found in the relevant CTI carrier manual.
12. Flash your unit.
You may use the CTI assisted flashing script called cti-flash.sh
sudo ./cti-flash.sh
Alternatively, you may use the manual flashing script provided by NVIDIA
./flash.sh cti/<Jetson Module>/<CTI Carrier Profile> mmcblk0p1
*Please note that the <CTI Carrier Profile> should not have the “.conf” on the end of it
For example:
./flash.sh cti/Xavier-NX/photon mmcblk0p1
For more information on the flash script, please visit the Flashing and Booting the Target Device section of the L4T documentation here.
Updated September 16, 2020